DIY Home Décor: Handmade Clay Pot Tutorial

Going Hands-On with Craft: The Essence of Clay

Creative skills and an imaginative mind can go a long way in designing beautiful living spaces. A small, yet significant contributor to your home's aesthetic could be a feature as organic as a handmade clay pot. In this article, we'll guide you through an enjoyable and easy-to-follow tutorial, and you'll be amazed at the brilliance you can create with clay!
Step 1: Gather Your Materials
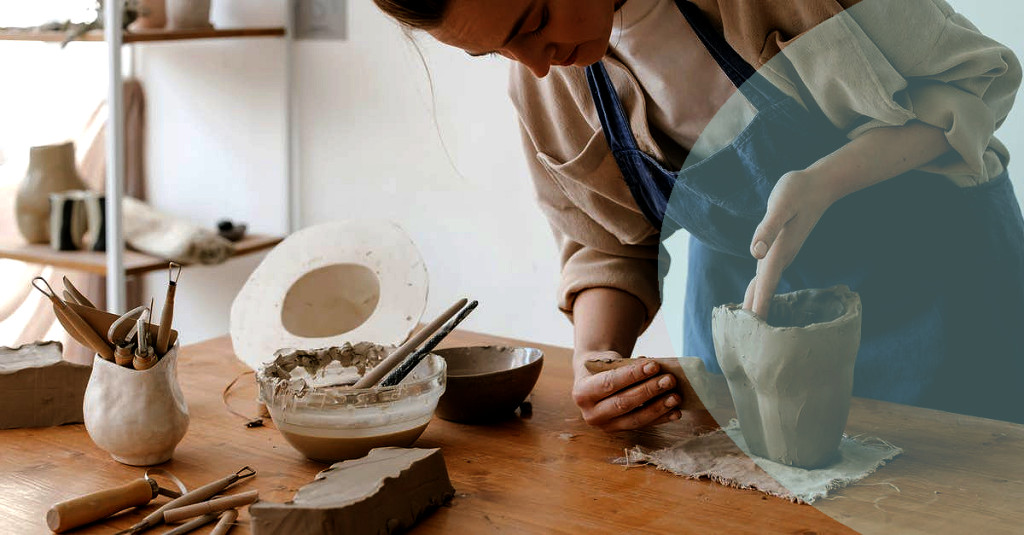
Crafting a pot out of clay is more than just creating a pretty piece of décor. It's a hands-on process that soars into the realms of art, patience, and focus. The tactility of clay, the warmth of creation and the magic in molding is a whole experience in itself, akin to therapeutic or mindfulness practices. Engage with this primer on clay artistry for a touch of perspective.
##All Set? Let's Dig In!
Here's a step-by-step guide on how to make your own clay pot.
Step 2: Understanding the Clay
The list of materials you'll need is quite simple: clay (of course!), a potter's wheel (though not necessary, it can help speed up the process), a clay needle for cutting and contouring, a sponge for smoothing, and some water to keep the clay pliable.
Step 3: Molding the Clay
Before you start, try to get a feel of the clay in your hands. Warm it up, knead it, and become familiar with its consistency. It's important that the clay is pliable and moist, but not wet.
Step 4: Trimming and Smoothing
Related articles
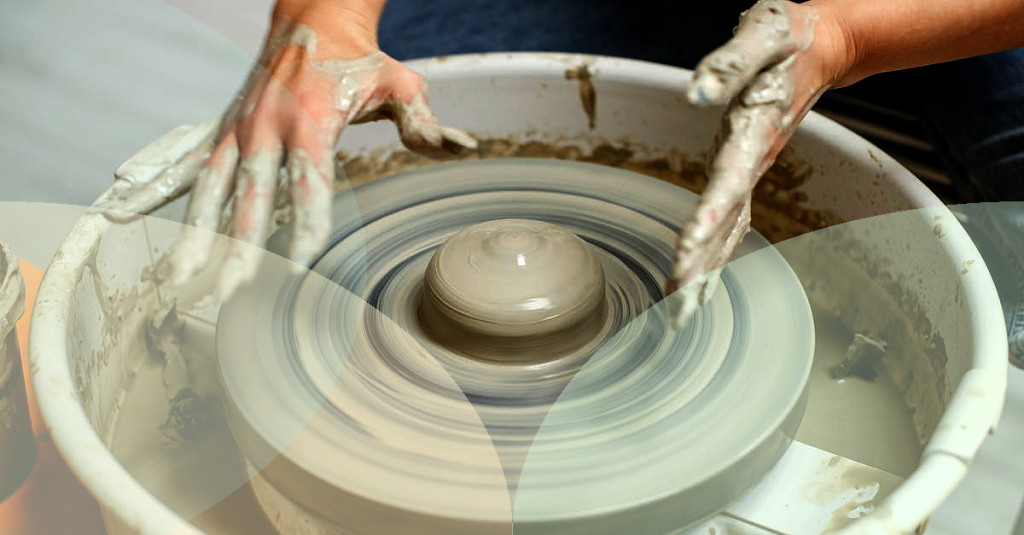
Start molding the clay into your desired shape. If you have a potter's wheel, center your clay on it and start the wheel. Apply pressure to the clay, moving your hands up and down slowly to create your preferred shape.
Step 5: Let it Dry
Using the clay needle, trim off any excess clay from the top and base. You can also use the sponge (slightly dampened) to smooth out any rough edges.
Step 6: Fire Up the Kiln
Now, let your pot dry naturally. Drying times may vary depending on the type and thickness of the clay, and the room's temperature and humidity. Patience is the key here!
Step 7: Glaze and ReFire
Once completely dry, it's time to fire our clay creation in a kiln. If you don't have a kiln, you could explore local pottery studios that might offer this service.
Final thoughts
After the pot has been fired successfully, you can glaze it for an extra touch of color and sheen. After applying the glaze (follow manufacturer's instructions), the pot must be re-fired to make the glaze adhere properly.
And voila! Your unique piece of handcrafted pottery is ready to be admired. If you wish, further embellish it with paints, or use it as a vintage addition to your collection of planters. The world of creative pottery possibilities expands right at this point!
For a more detailed understanding on the process and types, you can read more about it here.
Getting your hands muddy in the magical world of clay is more than just a craft. It's about creating beauty, reclaiming a moment of peace, and unfolding a piece of art, bit by bit. So set aside your screens, get your hands dirty, and craft a delightful expression of your creativity!


