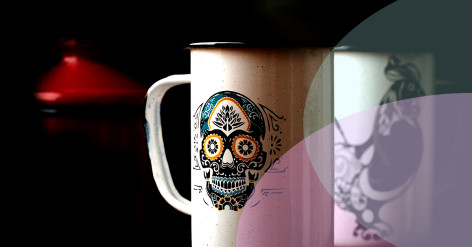
DIY Home Décor: Painted Mason Jar Tutorial

The Perfect Blend of Simplicity and Sophistication
Get Inspired by the Charm of Mason Jars
Are you on the hunt for a chic yet affordable way to adorn your home? Look no further than this stunning DIY Home Décor projectâa beautifully hand-painted mason jar tutorial that will surely enhance the aesthetic of any room. With step-by-step instructions and guidance, you'll soon master this gorgeous craft that effortlessly marries simplicity and sophistication.
Gather Your Supplies Like a Craft Pro
Mason jars have a timeless charm and appeal that makes them a versatile piece of décor. From holding candles to rustic flower vases or even as candy jars in a cozy kitchen, these containers offer limitless possibilities. As an added bonus, upcycling your mason jars not only beautifies your space but also contributes to a more sustainable and eco-conscious lifestyle.
The Art of Crafting Your Painted Mason Jar Begins
Before we embark on our artistic adventure, let's gather the necessary supplies. To create your painted mason jar, you'll need the following items:
- Mason Jars
- Acrylic Paint (your desired colors)
- Paintbrushes (a variety of thicknesses)
- Painter's Tape
- Clear Sealer Spray
- Optional: Sandpaper (for a distressed finish)
Quick Tip: Use a color palette generator tool to select the perfect combination of shades for your project.
Step 1: Prepare Your Canvas
Step 2: The Tape Method
First, clean your mason jar inside and out with warm, soapy water, then thoroughly dry it using a cloth or paper towel. This step is important as it ensures the paint adheres correctly to the jar's surface.
Step 3: Brushstroke Masterpiece
Related articles
To create a design on your jar, apply painter's tape in your preferred patternâstripes, chevron, or even a stencil of your choice. Make sure to press the tape down firmly, so no paint leaks through the seams.
Step 4: Tape Off, Reveal Beauty
Now comes the fun part! Using your chosen paint and paintbrush, apply a thin coat of paint to the mason jar's entire outer surface. Allow it to dry for at least two hours or until the paint is no longer tacky to the touch. Apply a second coat of paint and let it dry for another two hours.
Step 5: Seal Your Masterpiece
Once the paint has dried, carefully remove the painter's tape from the jar, revealing your magnificent design.
Optional: For a weathered, vintage look, lightly sand the raised areas of the jarâsuch as the lettering and rimâusing sandpaper. Be gentle to avoid scratching the glass.
A Showcase of Your Artistic Flair

Finally, spray a clear sealer over the painted surface of the mason jar, protecting the design. Ensure proper ventilation and allow your jar to dry as instructed on the sealer's packaging.
Turn Your Space Into a Craft Haven
You've done it! You've brought your own custom-painted mason jar to life. Allow yourself a moment to admire your handiwork before deciding how to display your lovely DIY Home Décor creation. Place fresh or faux flowers in the jar for a touch of natural elegance or use it as a utensil holder in your kitchen. The possibilities are endless when you're armed with your personal artistic ingenuity.
Discover the joy of a handcrafted home by exploring more delightful crafts, tips, and tutorials on our Home & Garden blog. Transform your home into a tranquil sanctuary of comfort and creativity with curated projects designed to inspire and enchant. Remember, the key to a beautiful home lies in the thoughtful touch of a loving owner.


