How to Sew Your Own Baby Clothes
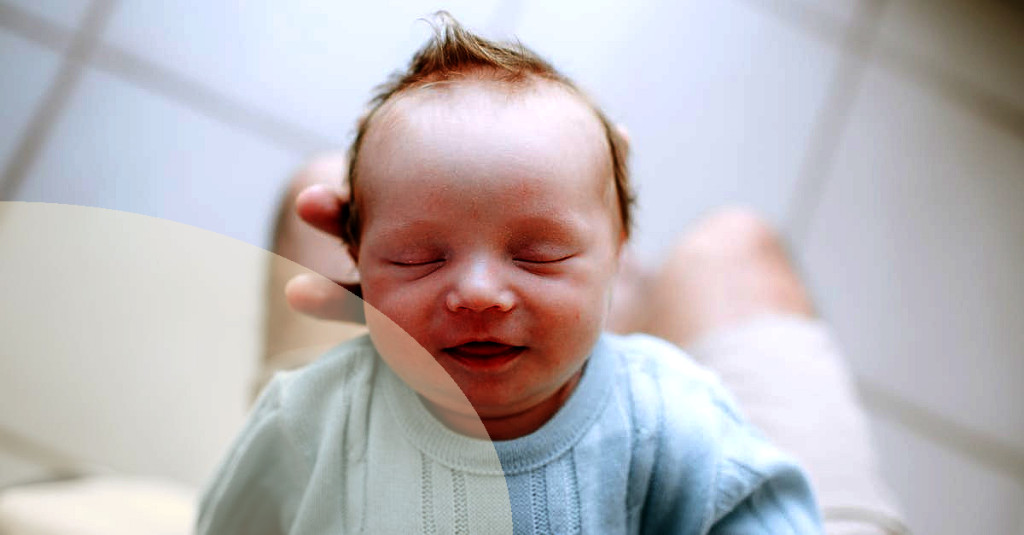
The Benefits of Handmade Baby Clothes
If you're looking to add a personal touch to your baby's wardrobe, learning how to sew your own baby clothes is an exciting journey to embark on. It's moderately easy - perfect for novice sewists and a fun project for more seasoned crafters alike. Not only will it let you tailor garments to fit your baby perfectly, itâs also an eco-friendly choice. Ready to thread your domestic sewing machine? Let's dive into our easy-to-follow DIY baby clothes guide.
Beginnerâs Essentials: Materials and Tools
Before we get to the 'how-to', let's take a quick look at why DIY baby clothes are a good idea.
- Uniqueness - You can customize the design and fabric as per your liking.
- Better Fit - Commercial sizes do not always fit perfectly.
- Cost-Effective - Buying fabric and sewing can be cheaper than buying ready-made clothes, especially for babies who outgrow their outfits quickly.
- Eco-Friendly - Less consumption leads to less waste.
Enough with the benefits. Now, let's get started!
Embarking on Your Baby Sewing Project: A Step-By-Step Guide
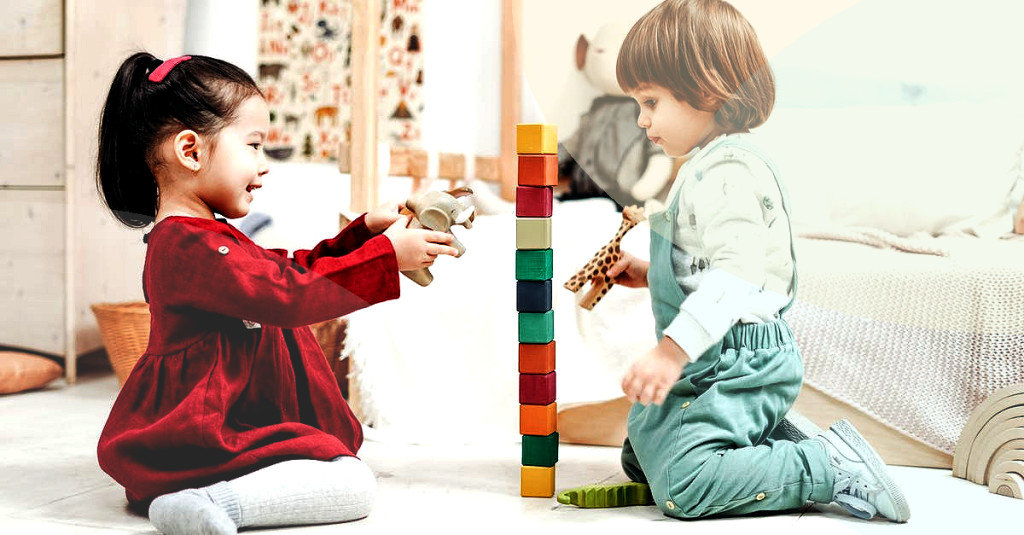
Before starting any sewing project, youâll need certain tools. Hereâs what our project entails:
- Baby-appropriate fabrics (like cotton or jersey knit)
- Matching thread
- Sewing machine
- Scissors
- Fabric marker or tailor's chalk
- Baby clothing pattern (You can find plenty online, including at sites like AllFreeSewing)
- Pins
- Measuring tape
If you're a beginner, don't worry, sites like Sewing Machine Plus can provide you with high-quality sewing necessities.
Step 1: Choosing Your Design and Fabric
Now that you're armed with the right tools, we can move on to the exciting bit: Sewing baby clothes!
Step 2: Prep Your Pattern and Fabric
First, decide on the kind of clothing item you want to sew. It could be a dress, onesie, or baby pants. Once you've decided the type of clothing, choose a baby-friendly fabric. Soft cotton and jersey knits are great options as they're soft, breathable, and stretchy.
Step 3: Follow the Pattern Instructions
Get a pattern for the clothing piece you want to create. Once you have it, spread out your fabric on a flat surface, place the pattern on it, and trace around the pattern using a fabric marker or a tailorâs chalk. Cut out the fabric using your fabric scissors.
Step 4: Sewing It All Together
Your pattern package will contain instructions for sewing the garment. Each pattern piece will have a notch or a mark to match up with another piece. Make sure you follow these carefully.
Step 5: Finishing Up
Use a straight stitch on your sewing machine to sew the pieces together. Just keep in mind to do reverse stitching at the start and end of every seam to lock the stitch.
After Your First Victory: Baby Steps to Baby Clothes Perfection
Once your garment is sewn together, youâll want to finish it by adding buttons, snaps, or ribbons as necessary. Voila! Your beautifully handmade baby garment is ready!
Take a moment to appreciate your work. You've successfully created a unique piece of clothing for your little one. Granted, it can be a little tricky at first, but once you get better, the results will be so worth it. If you struggled at any point, remember there are plenty of online tutorials, such as those from Good Housekeeping, that can help you along the way.
In the world of sewing baby clothes â it's perfectly okay to crawl before you walk, so don't be afraid to start small and keep growing. Happy crafting, sewing superstars!

