Upcycle an Old Dresser with Wallpaper Crafts

Dress-er-up with Wallpaper Crafts
Creativity blossoms in the unlikeliest of places and upcycling is the perfect turf to unleash your ingenuity. Captivating transformations can be achieved with a sprinkle of imagination, a drop of elbow grease, and an old piece of furniture. This article guides you through the wonderful world of DIY upcycling: How to breathe life into an old dresser using Wallpaper crafts.
Supplies Sweep
Traditional home adornments have seen a resurgence of late, and wallpaper has been at the front of this revival. Wallpaper Warehouse provides an array of chic designs, from florals that sing to geometric patterns that pop, there's a makeover option for every wood and hue.
First Foot Forward: Preparations
Before diving in, make sure you're armed with the following supplies:
- An unloved dresser (Please note, unloved does not mean unsalvageable! It needs to be sturdy and should still function effectively.)
- Wallpaper of your choice
- Wallpaper adhesive
- Primer (optional)
- Clear finishing topcoat
- The usual craft suspects â a ruler, scissors, a brush, a plastic spoon to smooth out bubbles, a damp cloth for clean-up.
Pre-ministering to the Dresser
Primer-Time
Start with cleaning the dresser. Drawers out, cobwebs gone, grim rubbed off. Check your dresser for any damages that may interfere with the wallpaper sticking â if needed, patches can be sanded.
Pattern Plans: Cut & Match
If your dresser is made of a non-porous material, a coat of primer will make it adhere better. Allow the primer to dry thoroughly before proceeding to the next step.
Stick the Scenario: Wallpaper Away
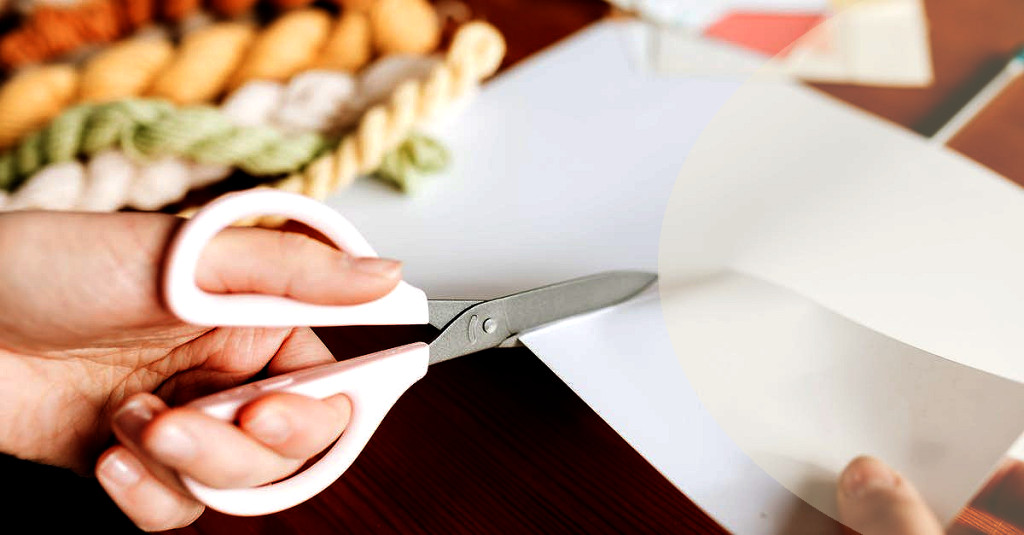
Measure the area to be covered and cut out the wallpaper pieces accordingly. If your selected wallpaper has a specific pattern, try to match it seamlessly across each drawer.
Top-tier Touches: Seal it with a Topcoat
Time to make it stick! Apply the adhesive evenly on the surface and stick your pre-cut wallpaper pieces onto it. Smooth out the wallpaper as you go to avoid any pesky air bubbles.
Wallpaper Delicious: Not just Drawers
Finally, seal your labor of love with a clear topcoat. It offers a dual advantage â it protects the paper while giving a polished, professional finish.
Revealing the Reborn: The Wallpapered Dresser
Upcycling a dresser with wallpapers doesn't limit you to just drawers. Sides, tops, and even insides of a drawer can be wallpapered if you're after a splash of unexpected fun.
Peel back, reveal, relish. Your old, lifeless dresser has taken a journey transfiguring into a posh, vibrant accent piece. Not only is this a cost-effective and sustainable procurement, but it also adds a personal touch to your home décor.
Wallpaper crafts encompass an enormous world of creativity beyond wall applications. HGTV aligns with this trend and presents an array of DIY wallpaper projects.
Embrace the green-thumb of DIY. Unveil your creativity, add life to the old and the mundane, but most of all, have fun. Remember, an artist dwells within all â all it yearns for is an opportunity to express.


