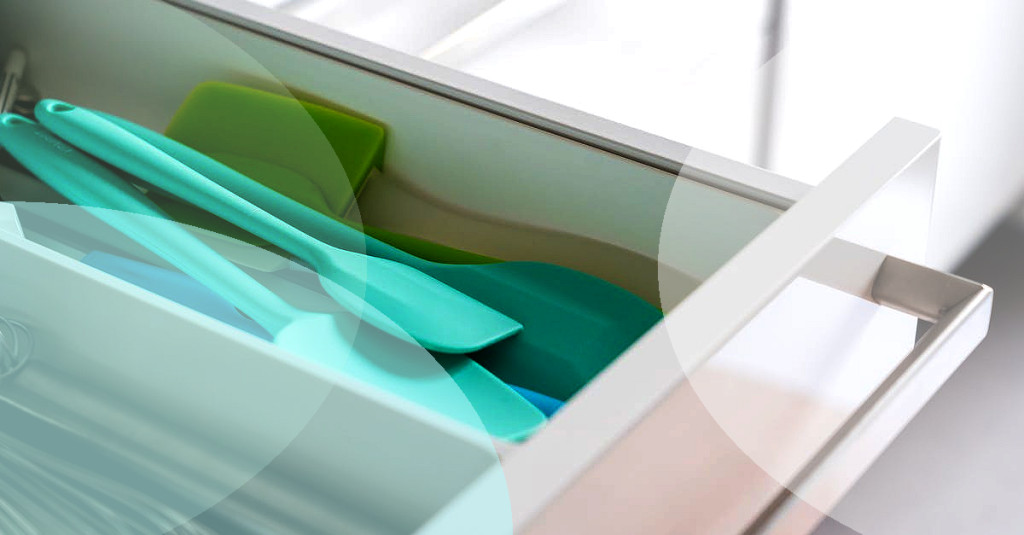
DIY Drawer Organizer: Tidy Up Your Drawer

The Beauty of Customization: Crafting the Perfect Drawer Organizer for You
Do you often find yourself rummaging through your drawers for that one piece of fabric or the perfect pair of scissors only to be greeted with the sight of a chaotic mess? Prepare to be amazed by the magic of a DIY Drawer Organizer that will turn your cluttered drawers into organized havens!
The Essential Materials
One size does not fit all, and when it comes to drawer organizers, the same rule applies. Store-bought organizers might seem convenient, but they often don't hold up to the unique dimensions and requirements of your drawer space. In this article, let's explore how to make your own DIY Drawer Organizer using materials you likely already have at home.
Step 1: Measure Your Drawer Space
To get started on your DIY drawer organizer journey, here's a list of items you'll need:
- Sturdy paper or thin cardboard (such as old cereal boxes)
- Measuring tape or ruler
- Scissors or box cutter
- Glue or tape
- Decorative paper or paint (optional, but encouraged for adding a personal touch)
Step 2: Plan Your Layout
The first step in creating your drawer organizer is to measure the dimensions of your drawer. Jot down the width, length, and height measurements. These will be essential in creating the perfect compartments to fit within your drawer.
Step 3: Cut Out Your Compartments
Now that you have the measurements, decide how many compartments you'd like and how you'd like them to be arranged within the drawer. You can sketch out a rough plan on paper or use handy free online tools like CreateRoomâs Ultimate DIY Drawer Organizer Sketch App to help visualize your design.
Step 4: Secure Your Compartments Together
Related articles
Using the measurements from Step 1 and your plan from Step 2, cut out the pieces of sturdy paper or thin cardboard to create the bases and dividers for your compartments. Be careful when using scissors or a box cutter to ensure precise cuts and to avoid any accidents.
Step 5: Add a Personal Touch
Assemble your compartments by gluing or taping the edges of your pieces together. Make sure they hold their shape and that the dividers are firmly connected to the bases.
Step 6: Place Your Organizers in the Drawer
This is where the optional decorative paper or paint comes into play. Customize your DIY drawer organizer by adding colors, patterns, or artwork to truly make it your own. Not only will this make your organizer stand out, but it will also make the time spent organizing much more enjoyable.
The Endless Possibilities: A World of DIY Drawer Organizers Awaits

Finally, place your completed compartments into the drawer according to your planned layout. Now, marvel at the transformation of your once chaotic drawer into a tidy, organized space!
Revel in Your Tidy Creation: Time to Enjoy Your Organized Space
With this basic guide to creating a DIY drawer organizer, your imagination is the limit! You can use different materials, like foam core or wood, to create even sturdier drawer organizers. To further organize your space, consider labeling your compartments or adding removable dividers for added flexibility.
If you're looking for specific organizers for your kitchen, office, or bathroom, be sure to check out A Beautiful Mess's blog post on DIY drawer dividers for more inspiration and ideas.
With your new DIY drawer organizer in place, there's no doubt you'll spend less time searching for items and more time enjoying the sense of accomplishment and satisfaction that comes with a well-organized drawer. Feel free to share your creation with friends, family, or on social media platforms as you embark on a journey to a tidy and organized lifestyle.
Happy organizing!


