How to Build a DIY Greenhouse in Your Backyard

Getting Started: Tools, Materials, and Planning
Adding a greenhouse to your backyard offers a myriad of benefits for gardening enthusiasts. It not only offers added protection for your plants but also provides an extended growing season, allowing you to grow a variety of fruits, vegetables, and flowers all year round. The good news is that you can create a DIY greenhouse without breaking the bank. In this guide, we'll walk you through the steps to build your very own backyard greenhouse.
Tools
Before diving into the construction, make sure you have all the essential tools and materials. You'll also need to consider the size, location, and design of your ideal greenhouse. Here's what you'll need:
Materials
- Measuring tape
- Hammer
- Screwdriver
- Drill
- Saw
- Level
- Utility knife
- Wire cutters
- Pliers
Planning Your DIY Greenhouse
- Lumber (2x4s or 2x6s)
- Polycarbonate or greenhouse plastic sheeting
- Metal bracing for corners and joints
- Galvanized screws and nails
- Door and window hardware
- Ventilation equipment (optional)
Constructing Your DIY Greenhouse: A Step-by-Step Guide
- Size and Location: Decide on the size of your greenhouse based on your needs and available garden space. Ensure it faces south to maximize sunlight exposure, and choose a level and well-drained location.
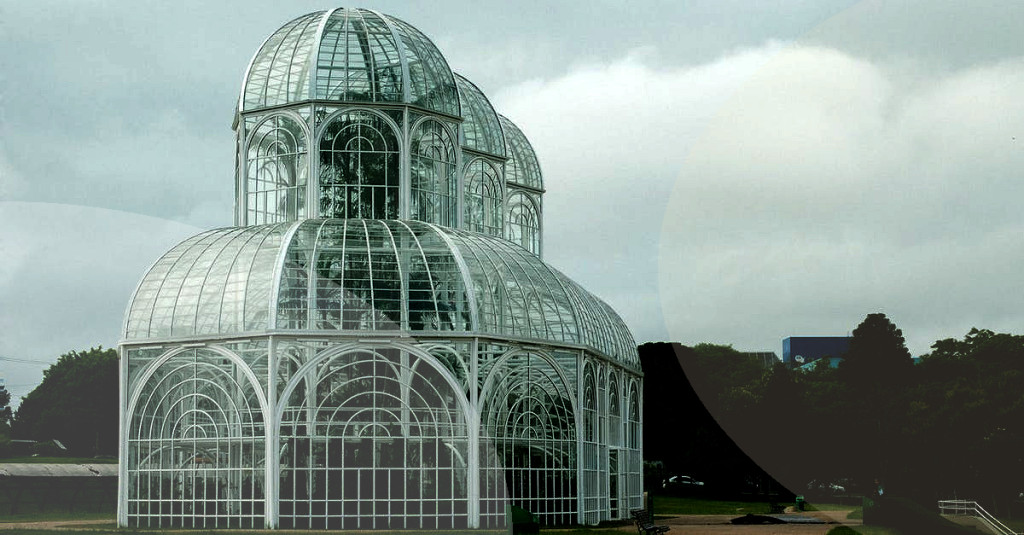
- Design: There are different designs to choose from, such as A-frame, hoop, lean-to, or Quonset-style. Make sure it suits your gardening preferences and complements your backyard aesthetics.
- Ventilation: Proper air circulation is essential for a thriving greenhouse. Consider installing vents or fans for a natural or mechanical ventilation system.
- Permits: Check your local building codes to know if you need a permit to construct a greenhouse.
Step 1: Lay the Foundation
Now that you've got everything ready, it's time to get constructing. Follow the steps below to see your greenhouse dreams come to life!
Step 2: Frame the Walls and Roof
Build a solid foundation for your greenhouse with either concrete, bricks, or treated lumber. This will provide support and protect the structure from moisture and weather elements.
Step 3: Install the Door and Windows
Construct the frame using your preferred design, ensuring that it is sturdy and can withstand external pressures. Use 2x4s or 2x6s for the structural elements, and metal bracing at the corners and joints for added support.
Step 4: Attach the Greenhouse Covering
Select a suitable location for the door and windows to ensure accessibility and optimal ventilation. Create openings in the frame and install the door and window hardware. Consider adding a screen door or mesh for pest control.
Step 5: Customize and Personalize Your Greenhouse
Cover the frame with polycarbonate or greenhouse plastic sheeting. Make sure it is tight and secure, using a combination of screws, nails, and clips. Trim the excess material with a utility knife.
The Fruits of Your Labor: Enjoy Your Backyard Greenhouse

Add shelving, organizers, and other features to enhance and personalize your greenhouse. Install your ventilation system, and set up a lighting and heating system if necessary.
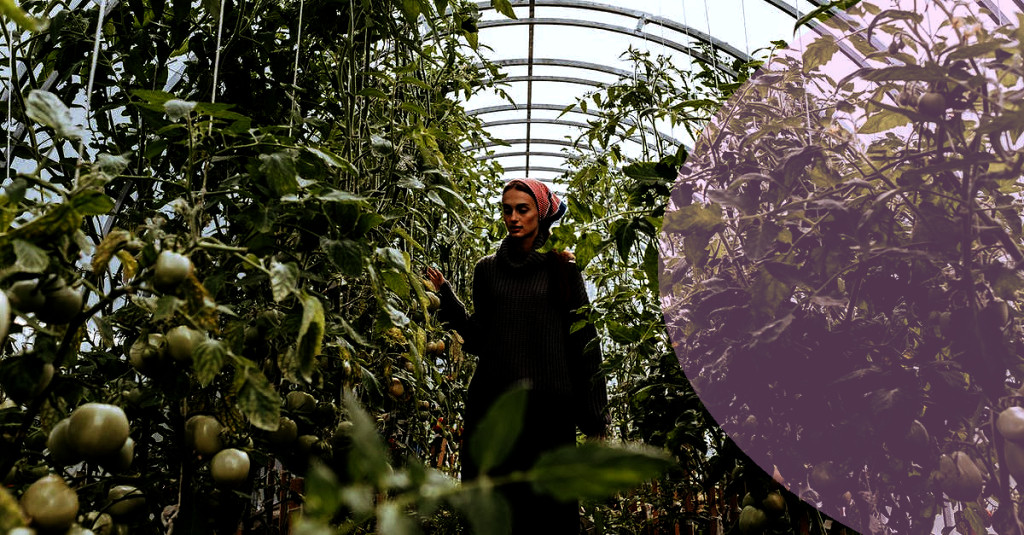
With the completion of your DIY greenhouse, you now have the perfect haven for your plants and a space for enjoying your gardening hobbies all year round. Take pride in your work and watch your plants flourish, while reaping benefits like better-tasting produce and increased self-sufficiency. For more greenhouse inspiration, check out this resource from Fixr.com to explore costs and design ideas.
Remember: Gardening is a continuous learning experience, and your greenhouse can evolve as your skills and interests grow. So, get your green thumbs ready to embark on this exciting DIY journey!


