How to Make Your Own DIY Lip Balm

Gather Your Supplies
Are you tired of spending money on expensive lip balms that don't work? Why not make your own? Not only is it cheaper, but it's also customizable to your liking. In this article, we'll show you how to make your own DIY lip balm with just a few ingredients.
Melt the Ingredients

Before you get started, make sure you have all of your supplies gathered. Here's what you'll need:
- Beeswax pellets or grated beeswax
- Coconut oil
- Shea butter or cocoa butter
- Essential oils (optional)
- Lip balm tubes or tins
- Double boiler
- Stirring utensil
- Measuring cups and spoons
Add Essential Oils
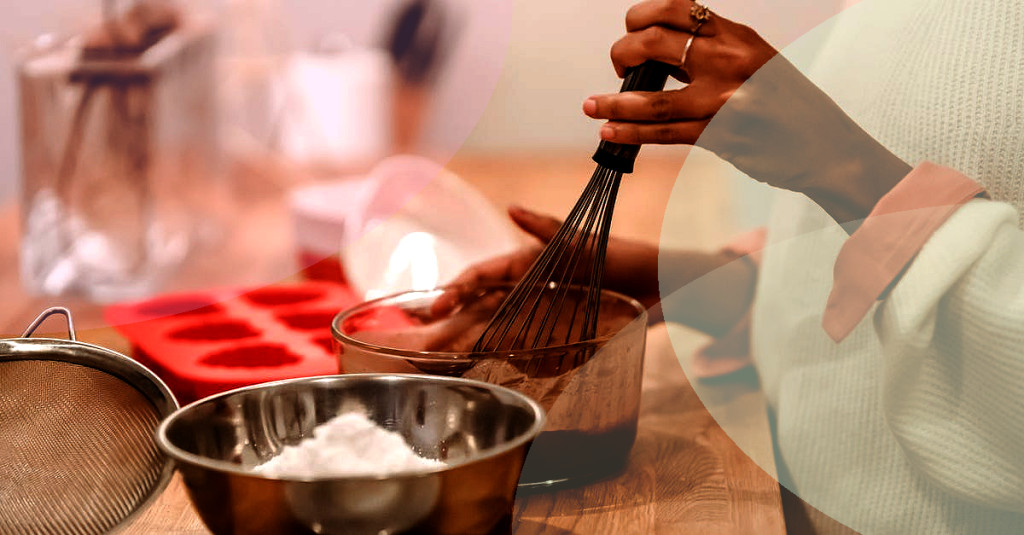
First, you'll need to melt the beeswax, coconut oil, and shea butter or cocoa butter in a double boiler. If you don't have a double boiler, you can use a heat-safe bowl over a pot of boiling water. Be sure to stir occasionally until fully melted.
Pour into Tubes or Tins
Once everything is melted, you can add a few drops of essential oils for fragrance. Peppermint, lavender, and citrus oils are popular choices. Be sure to use high-quality essential oils that are safe for skin use.
Let Cool and Set
After you've added essential oils (if desired), pour the mixture into lip balm tubes or tins. Be sure to work quickly as the mixture will start to harden as it cools. If you're using tubes, use a funnel to help transfer the mixture without spilling.
Conclusion
After pouring the mixture, let the lip balm cool and set. This may take anywhere from 10 to 30 minutes depending on the size of your containers. Once fully cooled, you can use your new homemade lip balm!
Making your own lip balm is not only easy, but it's also fun and customizable. Plus, it saves you money in the long run. Give it a try and see how you like it!
For more DIY home and beauty projects, check out The Spruce Crafts or DIY Network.


