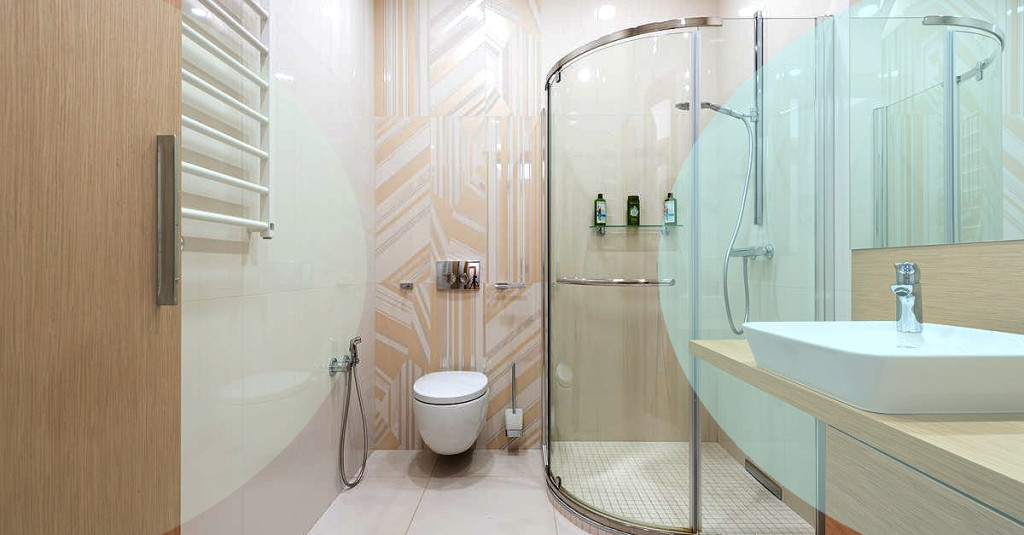
The Comprehensive Guide to DIY Bathroom Tiling

- Introduction: Create a Tranquil Oasis with Stunning Bathroom Tiles
- Unmask the Magic of DIY: Why do Bathroom Tiling Yourself?
- Step 1: Preparation is the Key
- Step 2: Master the Techniques of Applying Tiles
- Step 3: Let the Grout Work its Magic
- Step 4: Complete with Sealant for a Perfect Finish
- Step 5: Enjoy the Extraordinary Aesthetics
- A Rewarding Journey towards Stunning Spaces
Introduction: Create a Tranquil Oasis with Stunning Bathroom Tiles
Unmask the Magic of DIY: Why do Bathroom Tiling Yourself?
Elevate your home aesthetics by taking on the one-of-a-kind DIY project of bathroom tiling. If you're seeking to add personal flair and increase the value of your residence, then this comprehensive guide to DIY bathroom tiling is a gold mine of information for you.
Step 1: Preparation is the Key
Before anything else, let's disclose the secret of why DIY tiling resonates with homeowners:
-
Cost-Efficient: Doing it yourself eliminates labor fees showered on professionals. It's simply a matter of purchasing the tiles and other necessary items.
-
Personalized Design: You are the sole creator of your space. From the tile pattern to the colors, everything reflects your unique style.
-
Joy of Creation: The sense of achievement blooming from creating something with your own hands is unparalleled.
Step 2: Master the Techniques of Applying Tiles
Before diving in, prepare your toolkit with the essential items:
- Tiles
- Tile adhesive (Notched trowel for application)
- Tile cutter
- Tile spacers
- Grout
- Sealer
- Safety gear (Gloves, goggles, knee pads)
To help you along, Bunnings offers a well-explained guide about choosing these.
Kick-Start with Measuring and Marking
Methodic Application of Adhesive
Start by measuring the height and width of your walls to determine the amount of tiles needed.
Assured Alignment with Tile Spacers
Once your walls are measured, apply the tile adhesive properly. Start from the bottom and work your way up.
Critical Cutting of Tiles
Tile spacers are saviors when it comes to maintaining even grout lines. Ensure youâre slotting them between each tile as you go.
Step 3: Let the Grout Work its Magic
Tiles often need to be trimmed to mount around bathroom fixtures. This is when the significant tile cutter comes into play - preciseness is your best friend at this stage.
Step 4: Complete with Sealant for a Perfect Finish

Once youâve applied the tiles onto your bathroom walls, youâll need to let them sit for about 24 hours to ensure they are fully set.
Apply your chosen grout. It's better to start from the top and work your way down to the bottom. Wipe away the excess grout with a damp sponge and let it dry.
Step 5: Enjoy the Extraordinary Aesthetics
After grout has dried, which typically takes up to three days, you can now apply sealant. The sealant acts as a shield protecting your bathroom tiles from moisture - an essential step to prolong the longevity of your work.
A Rewarding Journey towards Stunning Spaces
Now that you have accomplished this DIY bathroom tiling project, enjoy the aesthetics that emanate from your handwork. Your determination, the sweat and tears you poured into this task, now magnify your sanctuary's beauty with your personalized style.
Just like learning a new language, diving into the DIY world requires dedication and patience. Applying these tips can guide you on how to tile a bathroom correctly, helping avoid common pitfalls and ensuring professional-quality results. Home Depot's tile installation guide further simplifies this process for beginners.
May your creative journey unveil a tranquil oasis that resonates with you and tells your unique home story!


